
Our framing process
How a custom frame moves from the design table to the workshop.
Once you approve the design, we write down exactly what the shop needs to build it: dimensions, frame, finish, glazing, mounting, backing and hardware.
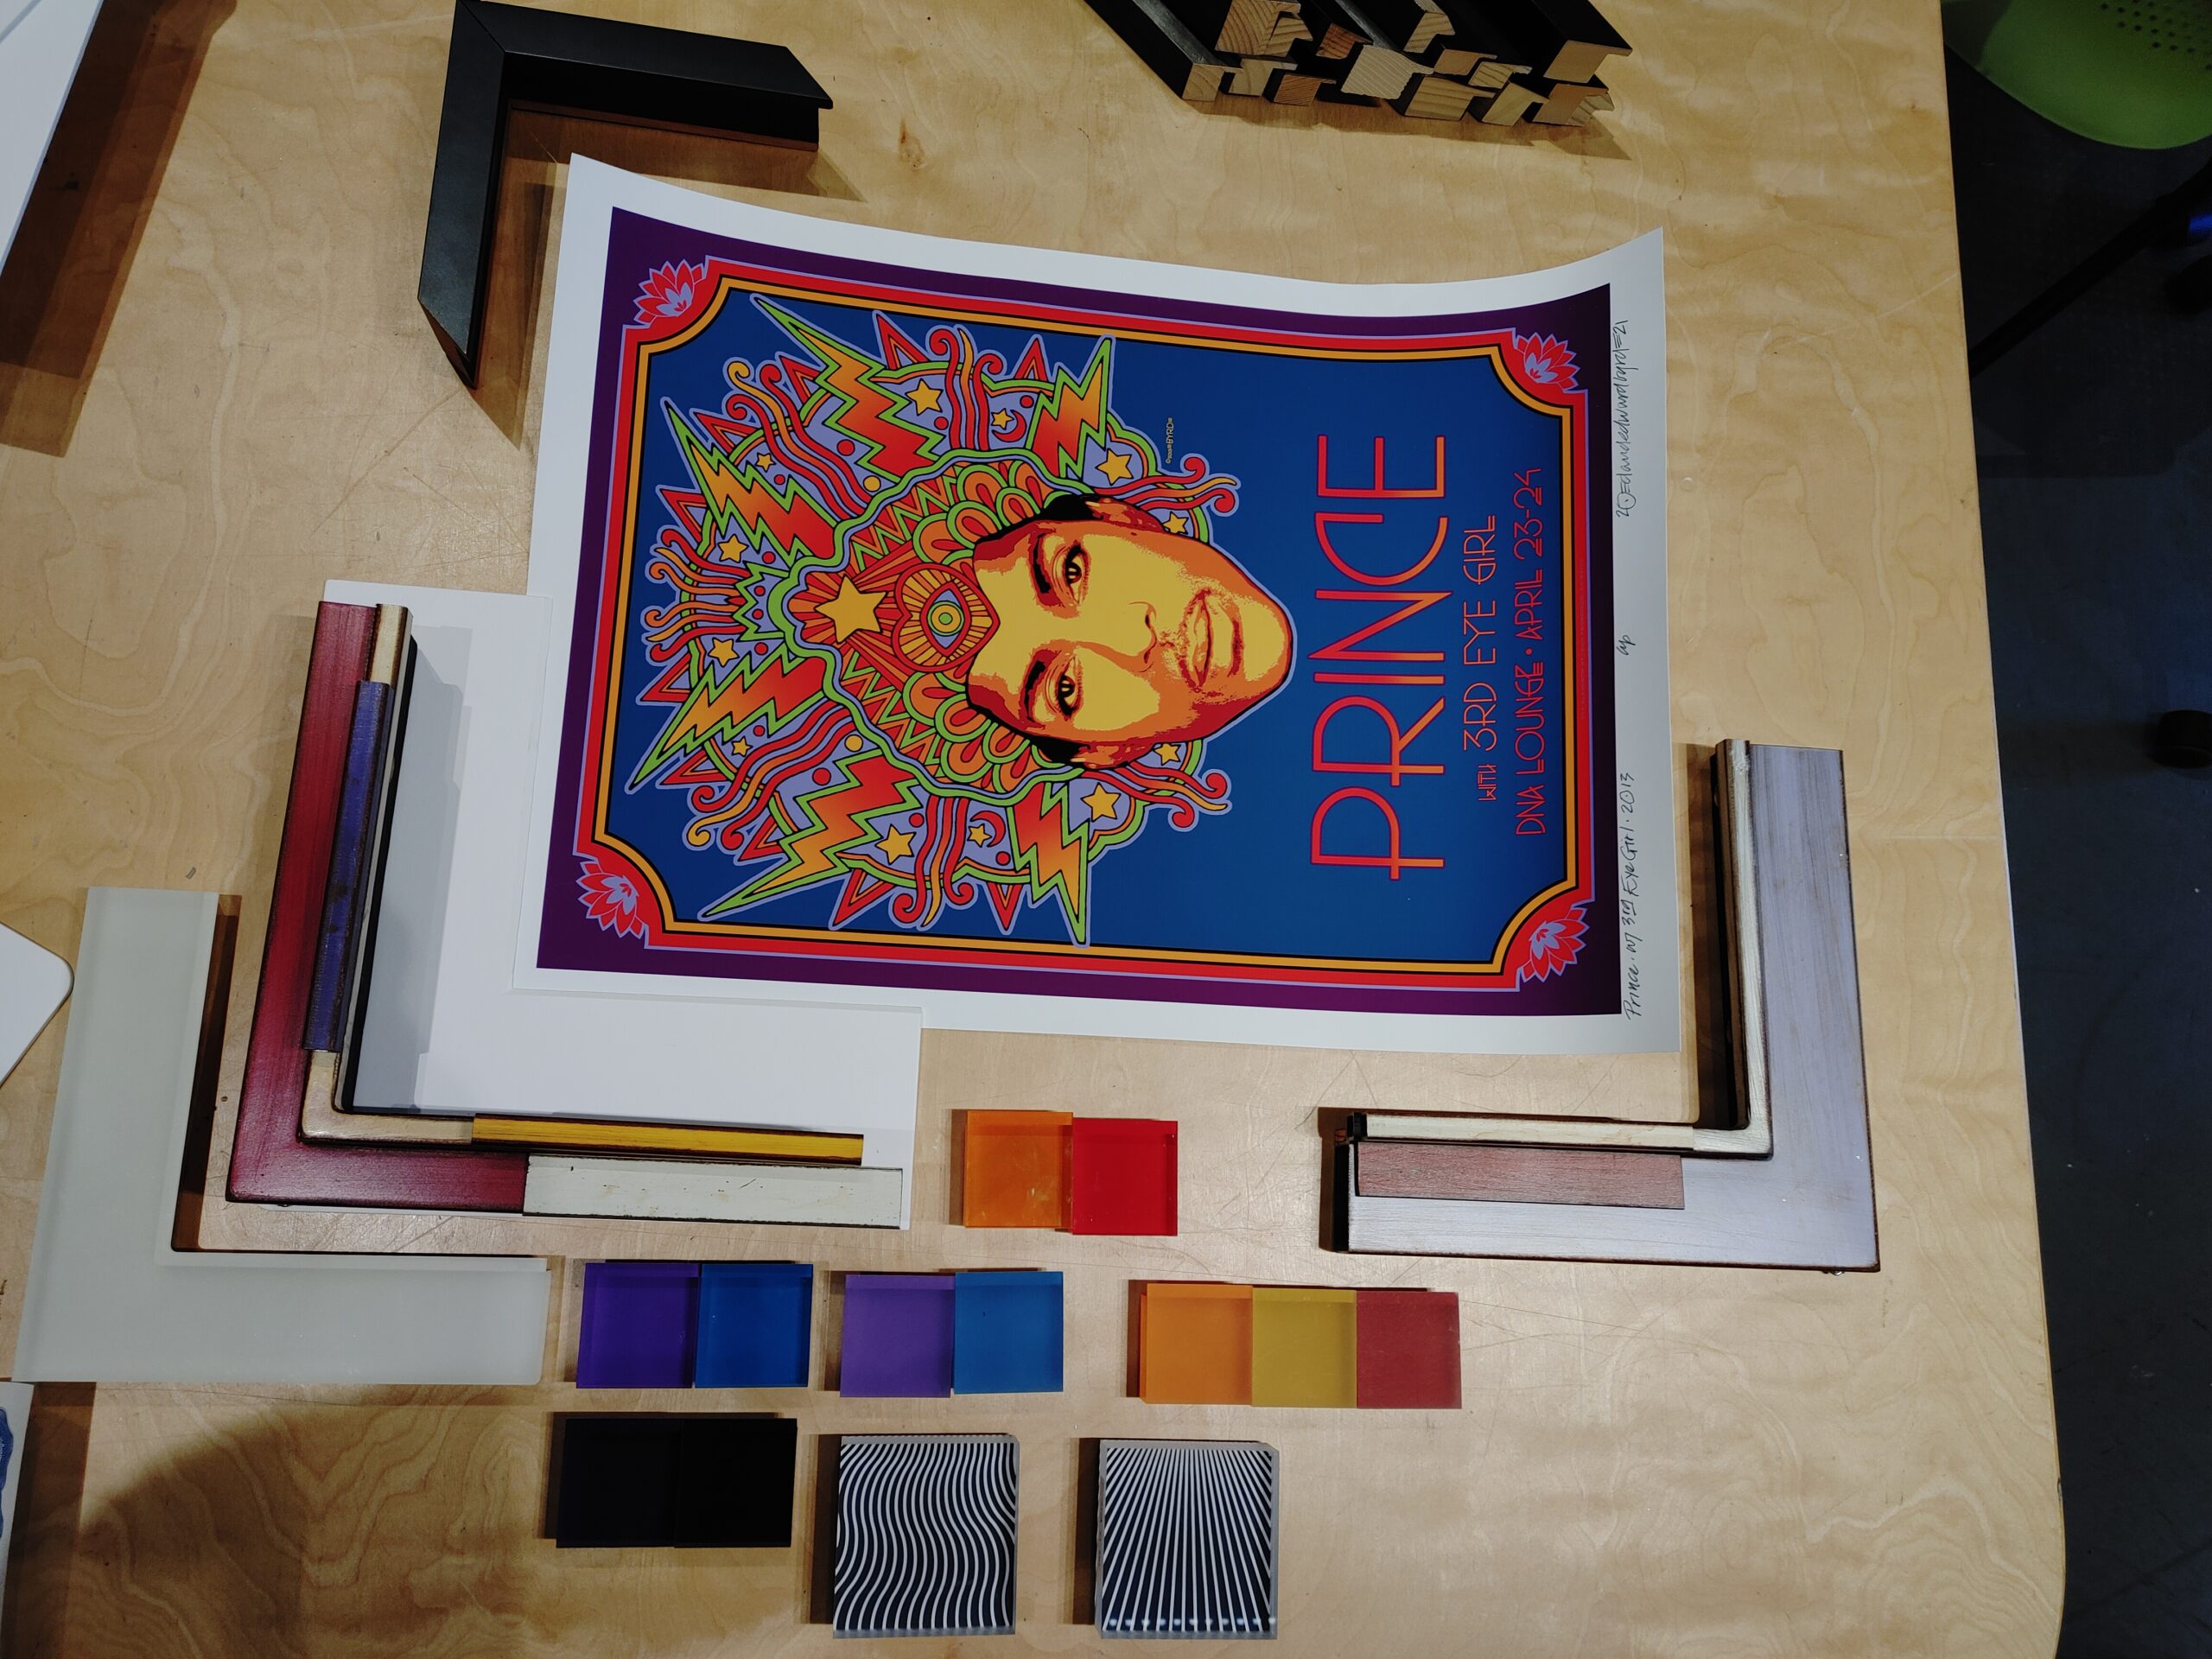
1 · Examine before designing
First, we look closely at the piece.
Material, condition, size, edges and existing mounts affect the next decisions.
Paper
We check old hinges, mounts, distortion, loose media and whether the sheet edge matters.
Canvas
We check the stretcher or strainer, depth, tension, bracing and canvas edges.
Textile
We check fiber, weave, weight, hems, weak areas and previous attachments.
Object
We identify contact points, center of gravity, fragile surfaces and required depth.
2 · Choose the frame and presentation
Then we work through the design.
We compare profile, proportion, finish and the space around the artwork together. If the first choices are not right, we keep looking.
- 01
Set the frame proportion
How much frame and open space looks right around the piece?
- 02
Choose the profile
We narrow the overall direction first: simple, traditional, float, carved, gilded, hardwood, metal or something else.
- 03
Choose mats, liners or float space
Matting, liners, float gaps and spacers become part of the overall proportion.
- 04
Choose the finish
We choose the surface against the artwork and, when useful, room finishes.
- 05
Confirm glazing and support
We confirm glazing, support and depth before final approval.
3 · Record the details
We record everything the shop needs to build it.
We record dimensions, materials and approved samples for the workshop.
For trade and repeat work, the approved details stay with the project for later pieces.
Artists can use the same saved details for repeat show work and editions.
For unusual work, structure and mounting are settled first.
Structure, materials, depth and handling are settled before we start building.
4 · Build, mount and fit
Then the work moves into the shop.
Paper, canvas, textiles and objects need different mounting and fitting steps.
Frame fabrication
We cut and join standard moulding in the shop. Hardwood, metal and finished-corner frames are fabricated in the way that suits the material.
Matting and liners
We cut mats and prepare liners, fabric surfaces and specialty details.
Mounting and support
We complete hinges, stitch mounts, stretchers and other supports before fitting.
Glazing and spacers
We cut the glazing and provide the separation the artwork needs.
Backing and hardware
We close the back and choose hardware for the finished weight.
5 · Final review
Before the piece leaves the shop, we inspect the finished frame.
We check the finished frame for alignment, cleanliness, structure and hardware before it leaves the shop.
Presentation
We review alignment, mat openings, float gaps and frame surface under normal light.
Cleanliness
Glazing and interior surfaces are checked before closure.
Structure
Joints, backing, mounts and hardware are checked for the finished weight.
Documentation
For repeat and trade work, we keep the approved details for the next piece.
After the frame is finished
Delivery, installation and shipping are planned when the project needs them.
For larger or more complex projects, we coordinate the outside installer, art handler, crating or shipping company as needed.
Delivery and installation
We coordinate outside installers and art handlers based on the size, site and complexity of the project.
Crating and specialized shipping
For crating and specialized shipping, we coordinate outside companies and provide the finished dimensions and handling information.
Coordination with your project team
If you already have an installer, delivery company or art handler, we coordinate directly with them.
Technical workflow
Preservation Decisions
How condition, handling and specialist referral fit into an ordinary framing workflow.
The design appointment begins with a condition and material check.
We are not writing a museum condition report for every project, but we do need to know what we are handling. Medium, substrate, existing mount, surface condition, size and prior framing can all change what is safe to do next.
What we record or discuss when it matters
- Overall dimensions and visible distortions.
- Tears, losses, flaking, weak edges, stains or previous repairs.
- Signatures, inscriptions, labels and information on the reverse.
- Existing frame or mount features that may be historically significant.
- Known artist instructions, edition requirements or institutional loan needs.
- Display location, light, wall conditions and expected handling.
The visual design and the preservation build are specified together.
Once the frame direction is clear, we specify the parts that support and protect the object: mounting method, spacers or mats, glazing, backing, frame depth, hardware and any barriers needed between the artwork and structural materials.
Why this matters
A beautiful moulding does not compensate for an unsuitable mount. Likewise, a preservation package should not force an awkward visual solution when the same protection can be achieved more elegantly. The specification has to work as one object.
Handling rules change with the material.
Clean, dry hands are generally preferred for ordinary paper because gloves can reduce dexterity and catch fragile edges. Photographs and many smooth-surface materials are different: fitted nitrile gloves help prevent fingerprints and surface contamination. Textiles and objects are supported from beneath rather than lifted from decorative or weak features.
Workshop basics
- Clean work surface before the object arrives.
- Support large or flexible work during every move.
- Keep food, drinks, sprays and unrelated adhesives away from the fitting area.
- Protect vulnerable surfaces from tools, hardware and frame edges.
- Do not perform cleaning or treatment beyond the competence and scope of the framing work.
Some conditions require a specialist conservator before framing continues.
If an object needs treatment before framing, we do not hide the problem behind a new mat or frame. We can coordinate with the appropriate conservator, restorer, art handler, installer or fabricator and resume the framing work when the object is ready.
Typical referral points
- Flaking paint or unstable gilding.
- Paper washing, stain reduction, major tear repair or adhesive removal.
- Textile cleaning, active insect damage or fragile historic fibers.
- Photographic emulsion problems or unusual historic processes.
- Active corrosion or unstable mixed-media objects.
- Historic frame conservation requiring consolidation, cleaning or loss compensation.